Rust Belt Blues // How To Level Up

Short car update for you guys today! The weather has been perfect driveway mechanic weather. I had planned on getting to my front bearings, as well as install some alignment hardware for a more track focused alignment. This, of course, did not go according to plan.
My check list for last weekend was the following:
- Replace both front wheel bearings.
- Install adjustable rear lower control arms.
- Remove front shocks and give to my friend who will take them to his shop and install the camber plates.
I went in to this list not really understanding exactly how much work this was going to be. At the time of writing this (Tuesday at 4 pm) I had only just completed number 3 on my to-do list. But I did complete it. The car now sits on jack stands with the two front knuckles supported by bricks while I await the installation of my camber plates.
Front Wheel Bearings
This job was the one I was most nervous about, mostly because of what happened with the rear wheel bearing, which you can read about here. So naturally, I decided to start with this one. To my surprise, it went relatively easily. The most amount of time was spent removing the 4 bolts that hold the wheel bearing to the knuckle. Unlike the rear, the bolts that hold the front wheel hub on protrude past the hub itself, and expose threads. This means that those threads accumulate rust and other crud being tossed around in the wheel well. When you try to remove them, the dirt and rust can bind up the threads. For a mechanic with a good impact gun, this is not an issues. But for little old me with a cheap impact that was too big to get in behind the hub, I had to resort to the 1/4 inch ratchet and the ol' jack handle.
I started this job in the afternoon on Friday, and by the time my Fiance got home, I had removed 1 wheel hub, and 2 bolts from the other hub.
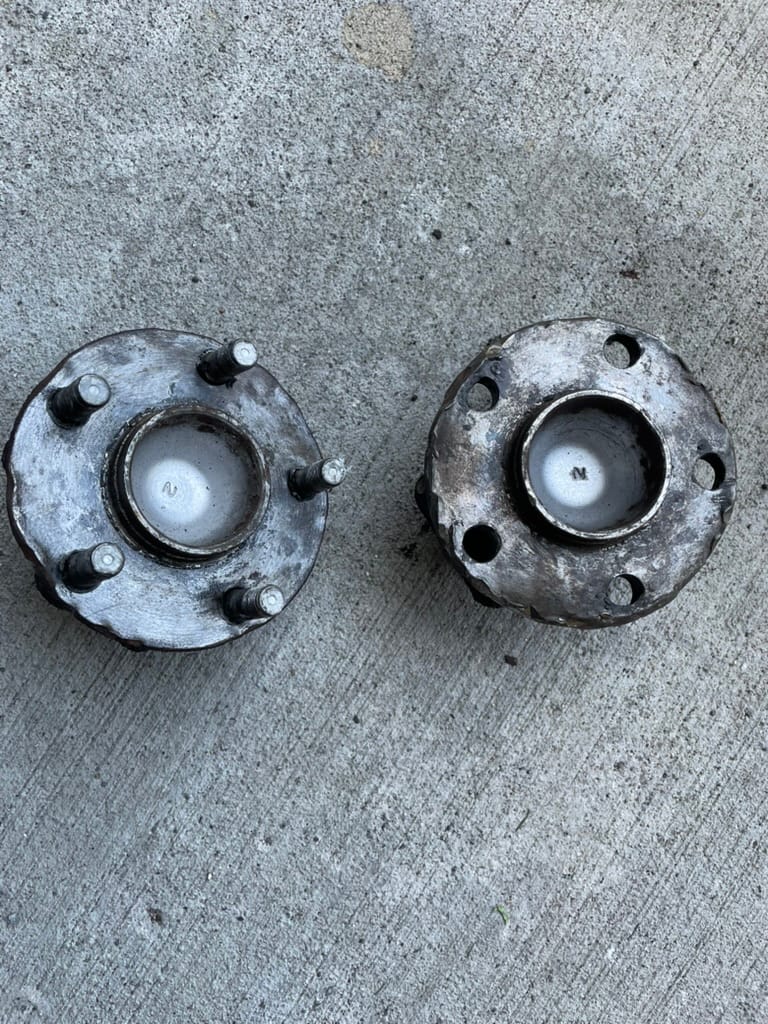
The wheel hub itself, while not easy to remove, did not trouble me even remotely as much as the rear hub I removed. It took some good work with the hammer, but after a few sessions of swinging my new 4lb hammer around, I managed to defeat the first wheel hub.
I'm not sure if it was because I sprayed the hub with WD40 rust penetrant, but the second wheel hub on the passenger side succumbed to just a few good whacks. The level of triumph I felt at this moment was immeasurable.
At this point, I was waiting for Amazon to bring my my wire brushes I had ordered to clean up the inside of the knuckle. So, I put that job on hold and moved on to the next.
Rear Lower Control Arms
This job got done relatively drama free. I already had a good idea of how the control arm disconnected from all the work I had already done on the rear suspension. Each bolt came out without any drama with the impact wrench. The only thing that held me back was being disorganized, and constantly losing the sockets I needed to install the new arms. The camber bolt they give you for the rear is not the same size as the bolt you replace with it. So I was floundering around looking for the correct sized socket to tighten everything up properly.
The kit I bought also came with adjustable toe bushings, which I didn't install. The ball joint for the arm I needed to remove was a massive pain when removing the knuckle earlier in the season, so I found the job daunting. Since the car is still at stock ride height, I'm not entirely sure I need them. But I will find out when I take the car to get the alignment done. (If it turns out I need them, I'll have him install them for me.)
Front Camber Plates
Removing the front shocks was supposed to be easy. I've seen automotive YouTubers remove shocks from cars in minutes before. Going in to it, I had a vague idea of what I needed to disconnect for it to come out. I loosened off the 2 bolts holding the shock to the knuckle. These bolts were a challenge because they were very tight, but not at all rusty or seized, so I was able to defeat them easily.
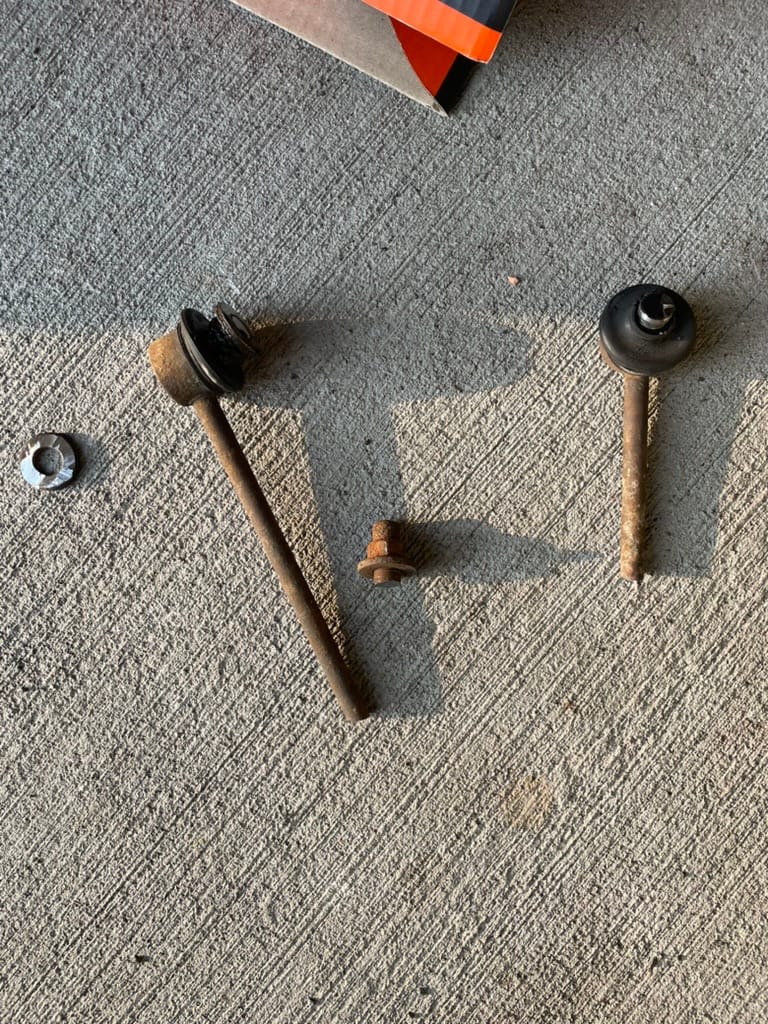
What I didn't realize was that the sway bar end links were fastened directly to the shocks, and also needed to be undone in order to remove the shock. (This might be a normal thing, I have no idea, I'm still learning.) The end link is different from the rest of the bolts I had to remove in the sense that it's a ball joint. My worst enemy.
At first, I simply took the impact gun to it to loosen it up. Those of you who are experienced will surely anticipate that all this did was spin the ball joint in it's housing.
I took to iMessage to summon some help from my friends. The advice I got was to put vice grips on the back to keep it from spinning so I could loosen the nut. What I didn't (but should have) anticipate was that the rusty threads would bind up in the nut, making it near impossible to loosen. When I took to iMessage again, I received the advice "Vice grip harder."
I vice gripped so hard, the back of the ball joint wore down the teeth of my vice grips. No luck.
Having quickly lost patience with my rusty undercarriage, I made the decision that the quickest way to remove the end links was to cut them. I sourced an angle grinder with a cutting wheel from a friend and hacked the end link clean in half. I was then able to remove the end link from the shock by cutting the part of the bolt I had exposed by trying to loosen off the nut. I quickly and efficiently repeated the process on the other side.
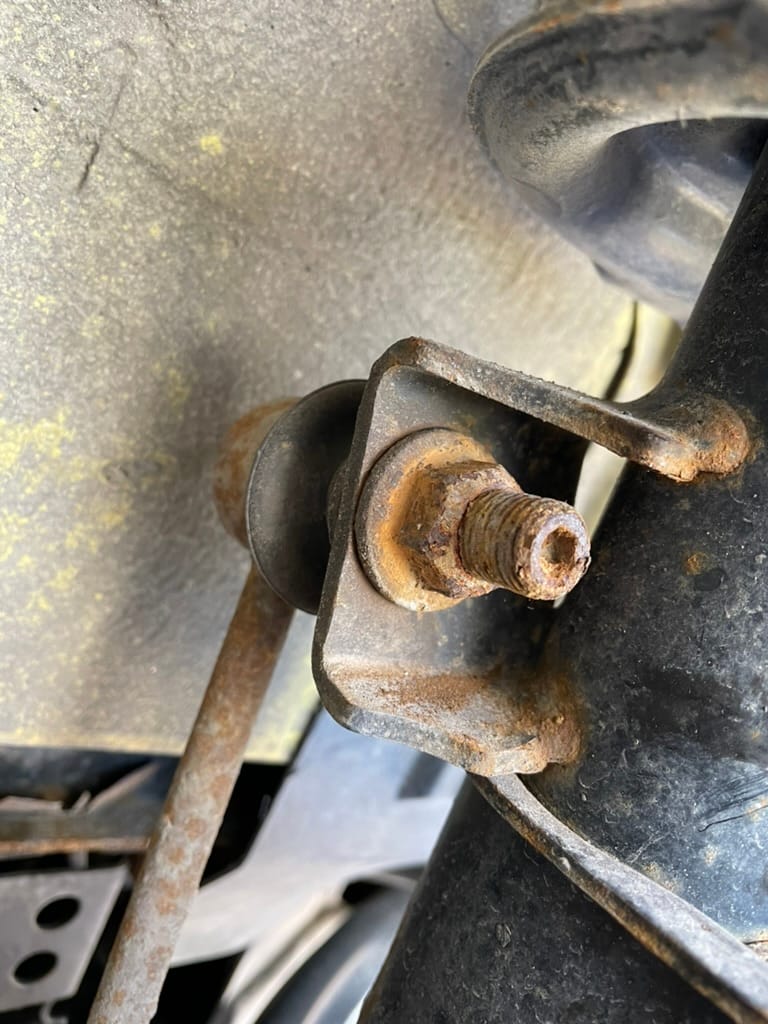
Removing the severed end link piece from the sway bar took a little bit more brain power than I anticipated. At first I got a little trigger happy and tried to cut it out at the base, only to realize that I hadn't cut close enough to the sway bar. A little more precision work with the angle grinder eventually solved that problem.
Having learned my lesson, I put the grinder down, and used vice grips and an impact to try to expose more bolt on the ball joint side. This strategy worked perfectly, as I was able to sneak the cutting blade between the washer and the end link housing, and cut through the bolt like butter.
I should mention that this was my first time using an angle grinder. I find the whole experience to be intimidating at first. When someone hands you a power tool, and then immediately follows it with an assortment of personal protective wear, it tends to make you think that you might get hurt trying to do what you're about to do. This is true. That's what the protective wear is for.
Oh yea, by this point Amazon had dropped off my wire brushes and I had installed my front hubs with a thick coat of anti seize. The hubs went on drama free, as you would expect. Like I always say about rust belt cars, apart is always harder than together.
What did I learn?
Most notably, I learned that angle grinders are kinda scary, but super handy. I'm going to try not to make a habit of hacking pieces off my car, but I feel like I evolved as a drive way mechanic getting my feet wet with power tools.
I also learned that you get what you pay for when it comes to impact wrenches. Having a Temu quality impact wrench not only makes these jobs I'm taking on harder, but they also take way longer.
So if you're just starting your journey working on your own car, learn from my mistakes and spend good money on good tools. Too many times I've made my life more miserable than it needs to be by simply not having the proper tools.
Rent, borrow, or buy. The right tools might stop your 2 hour job from turning in to an 8 hour job.
Father's Day
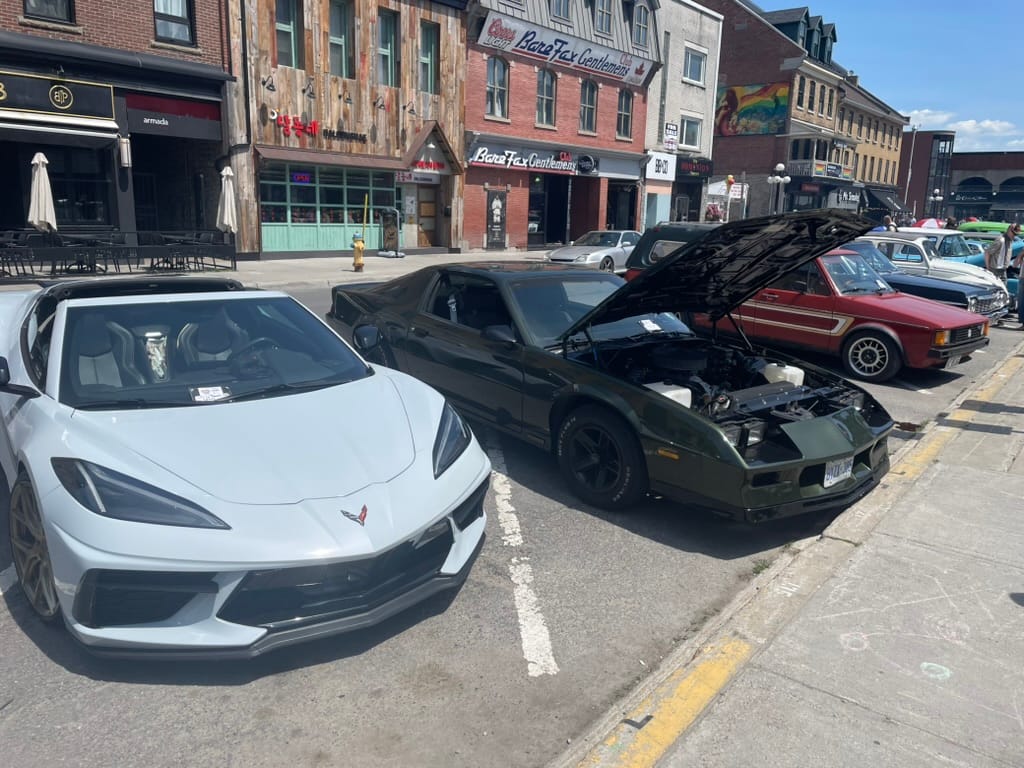
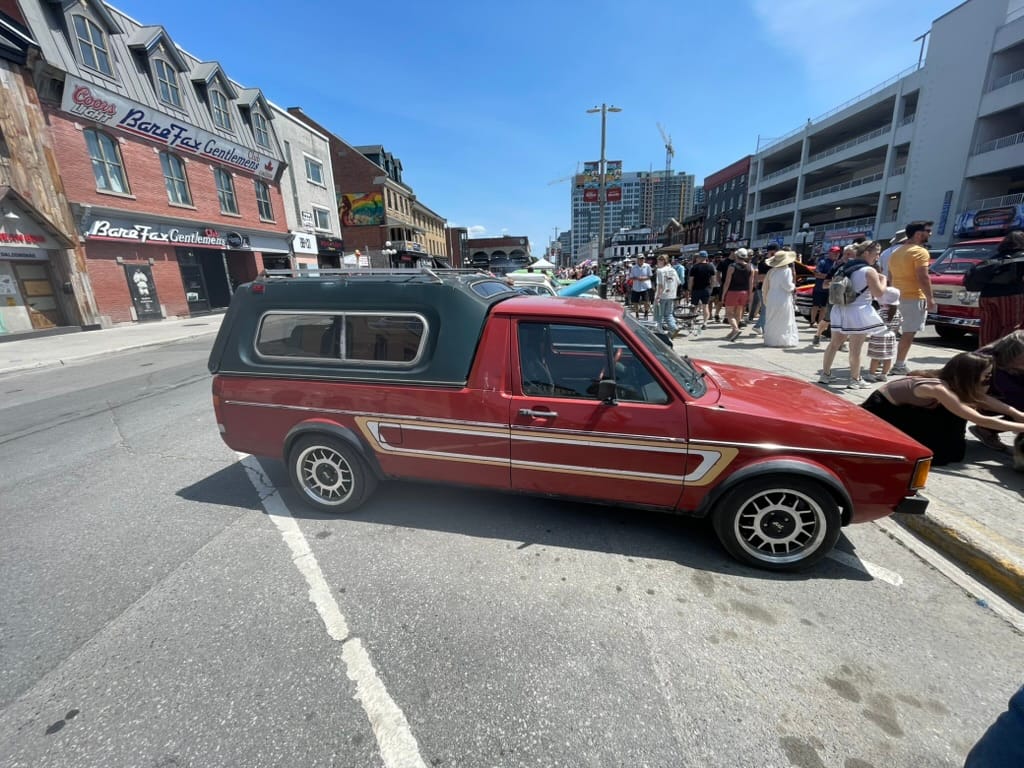
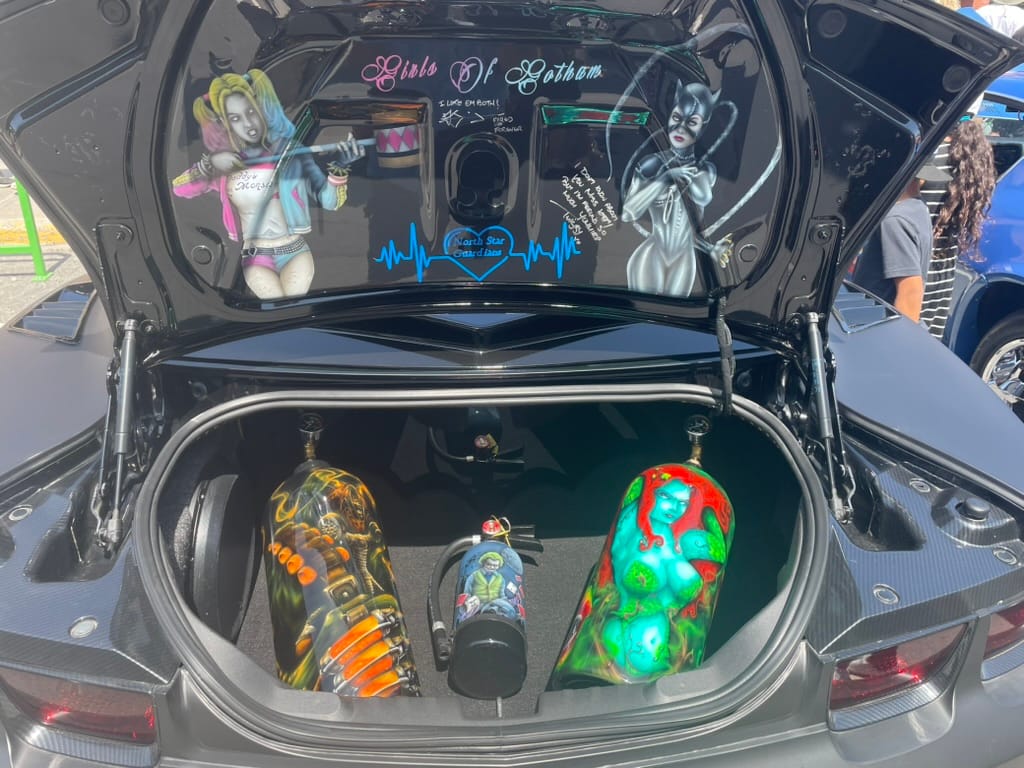
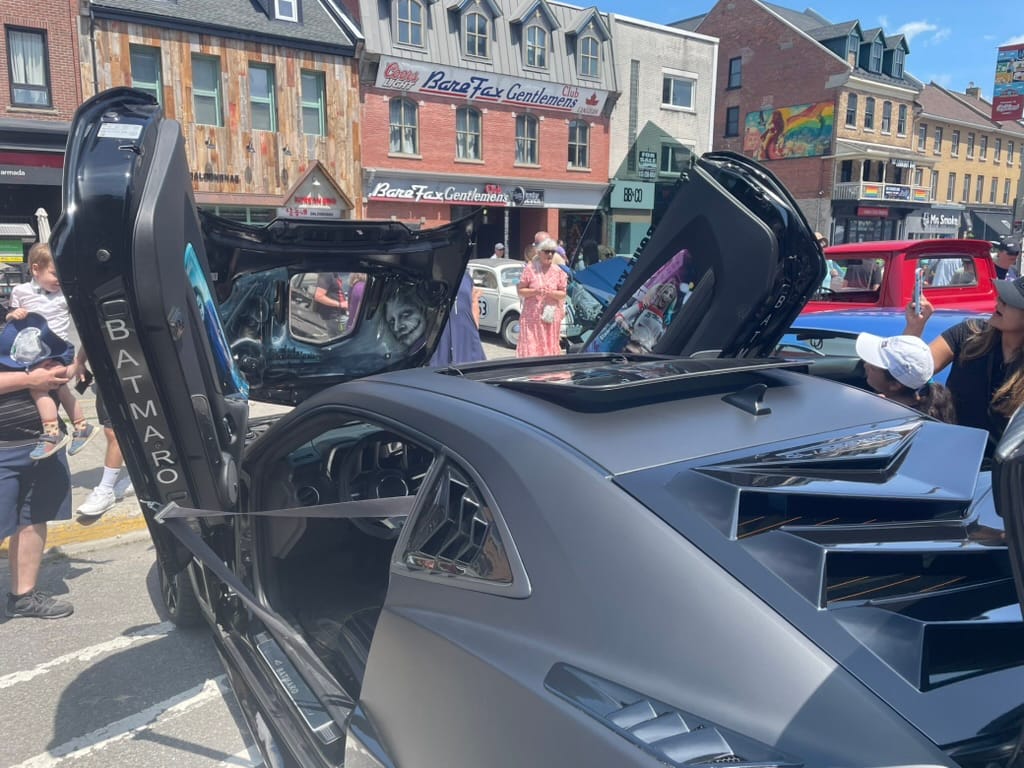
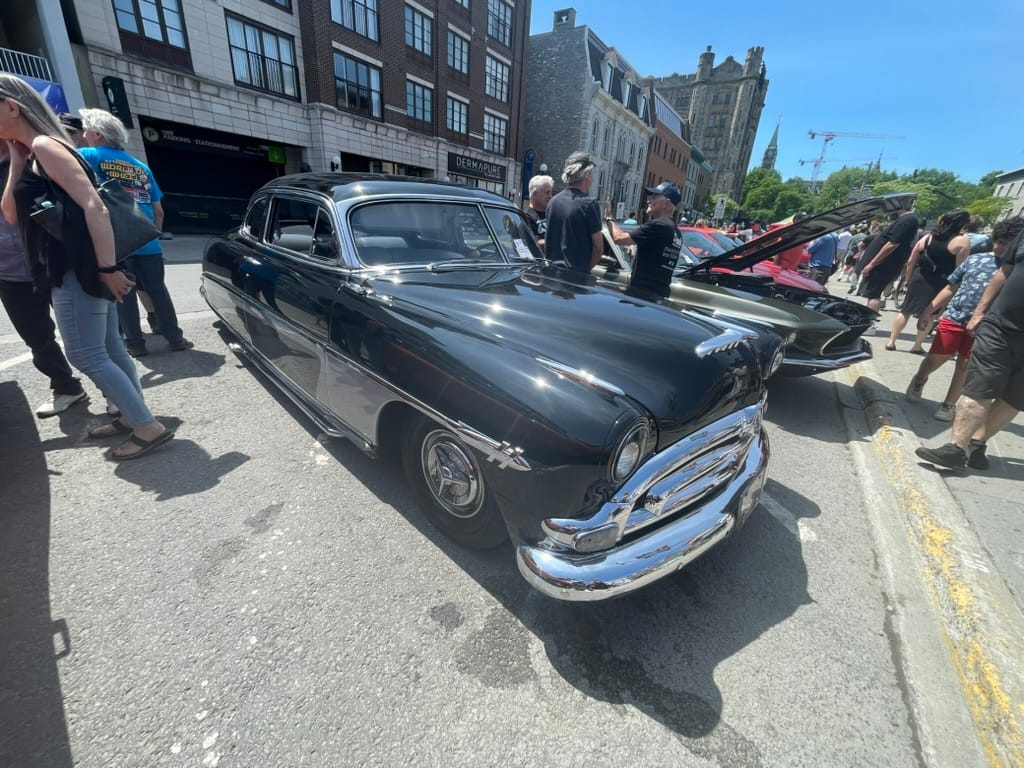
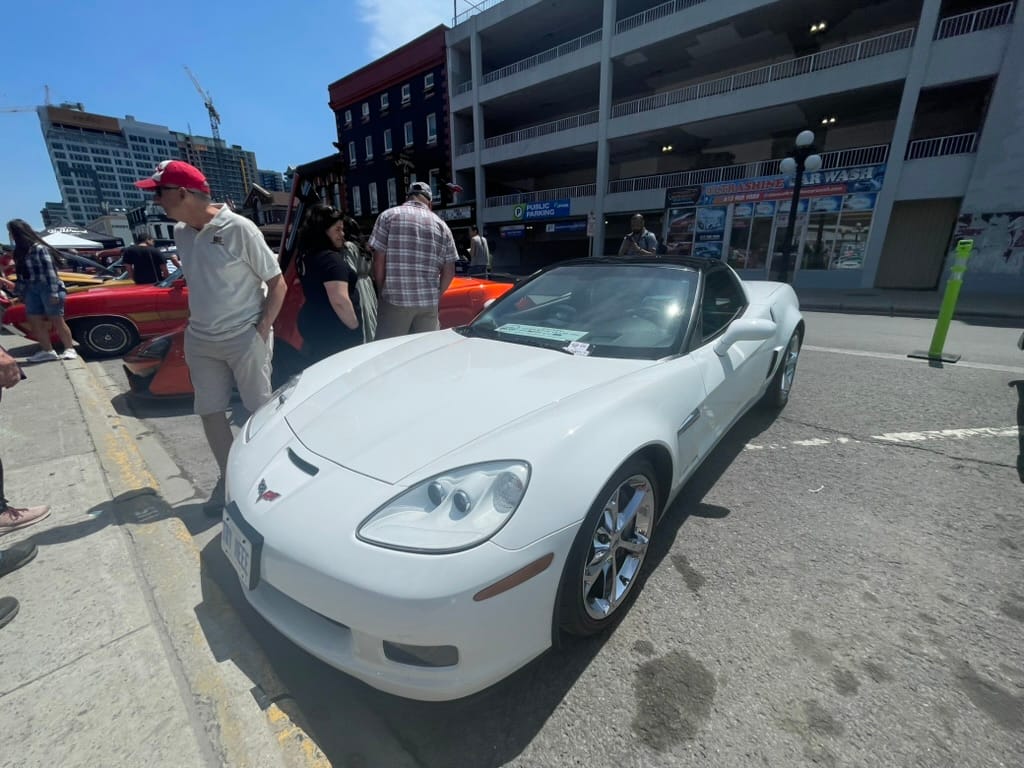
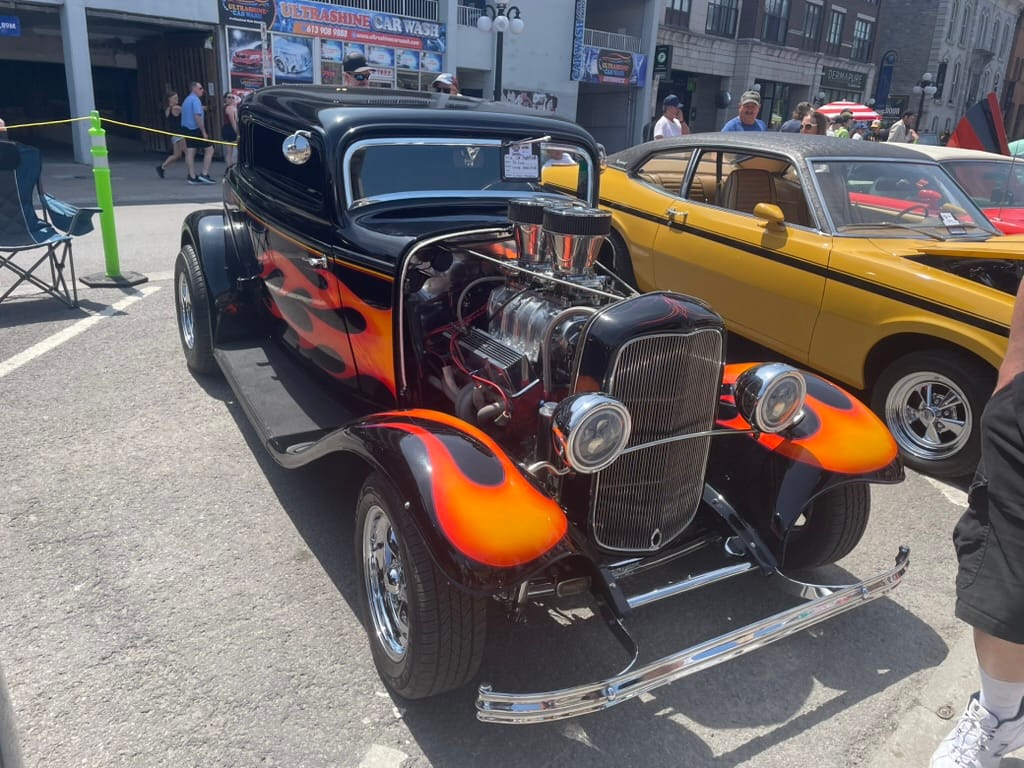
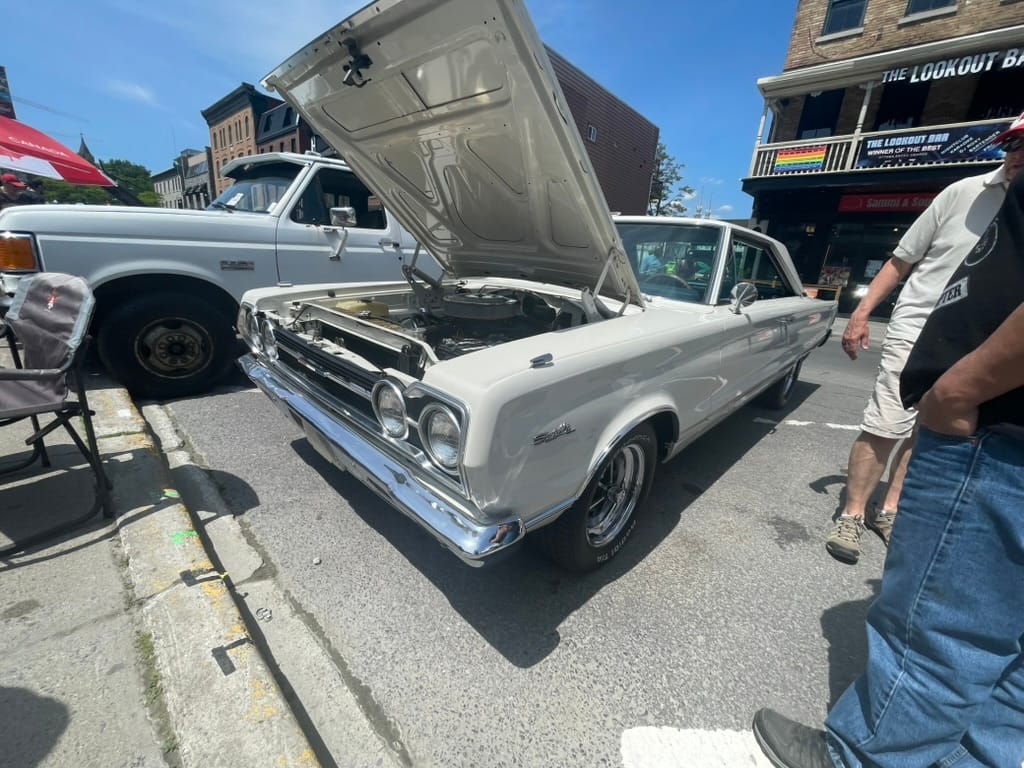
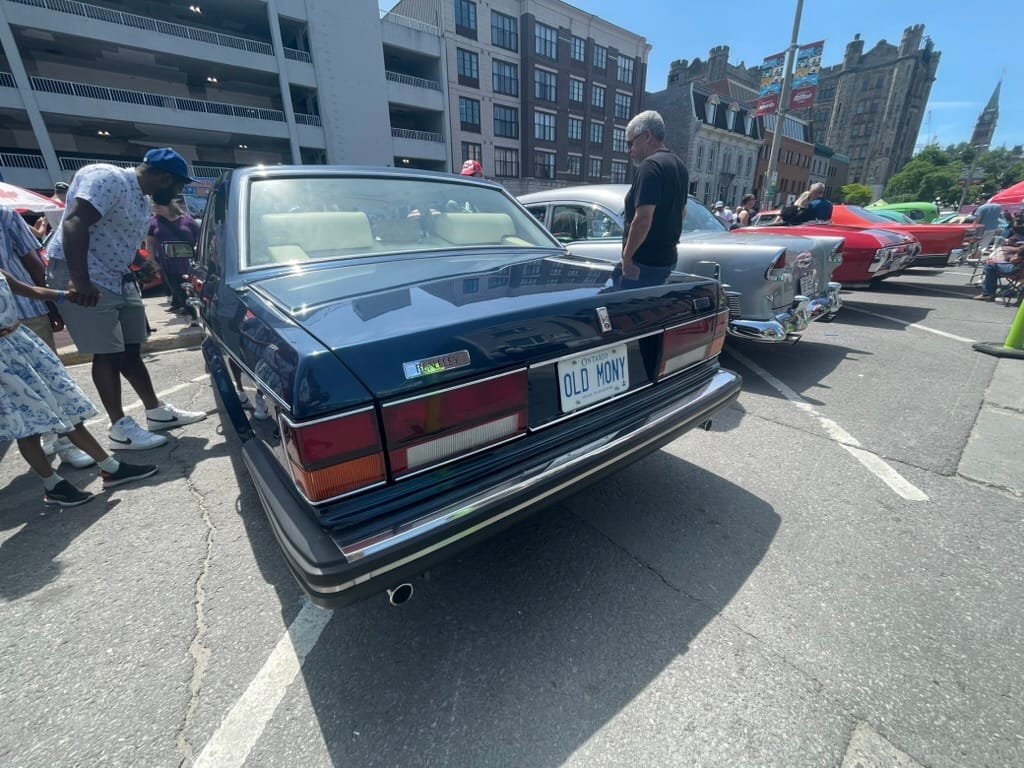
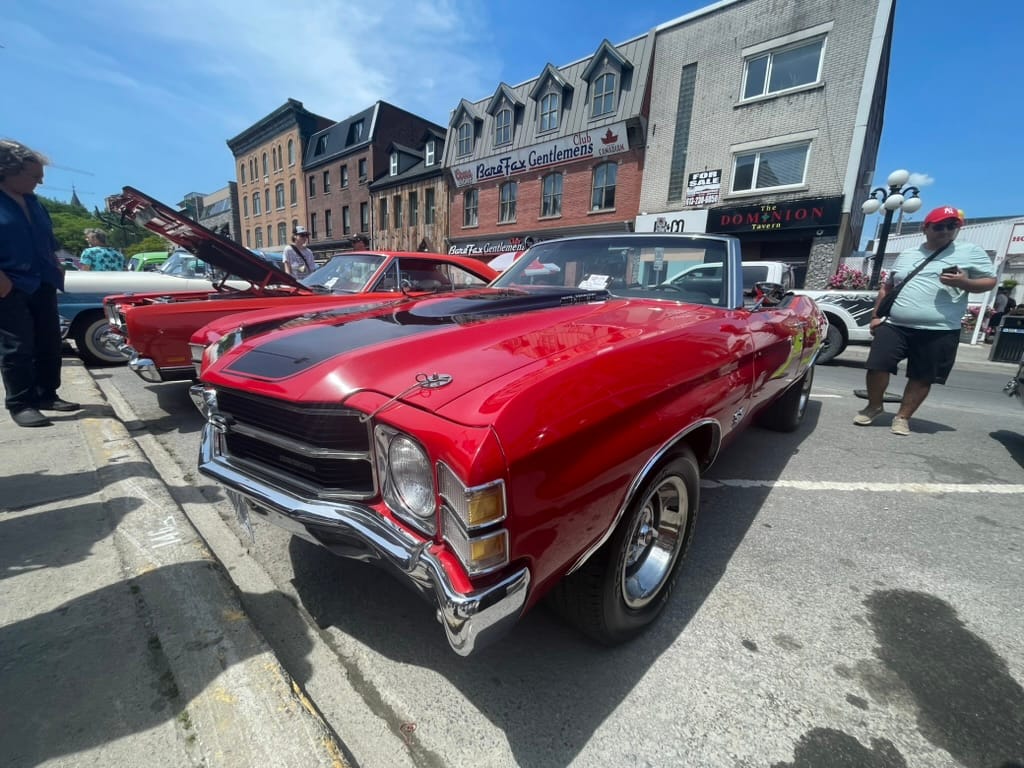
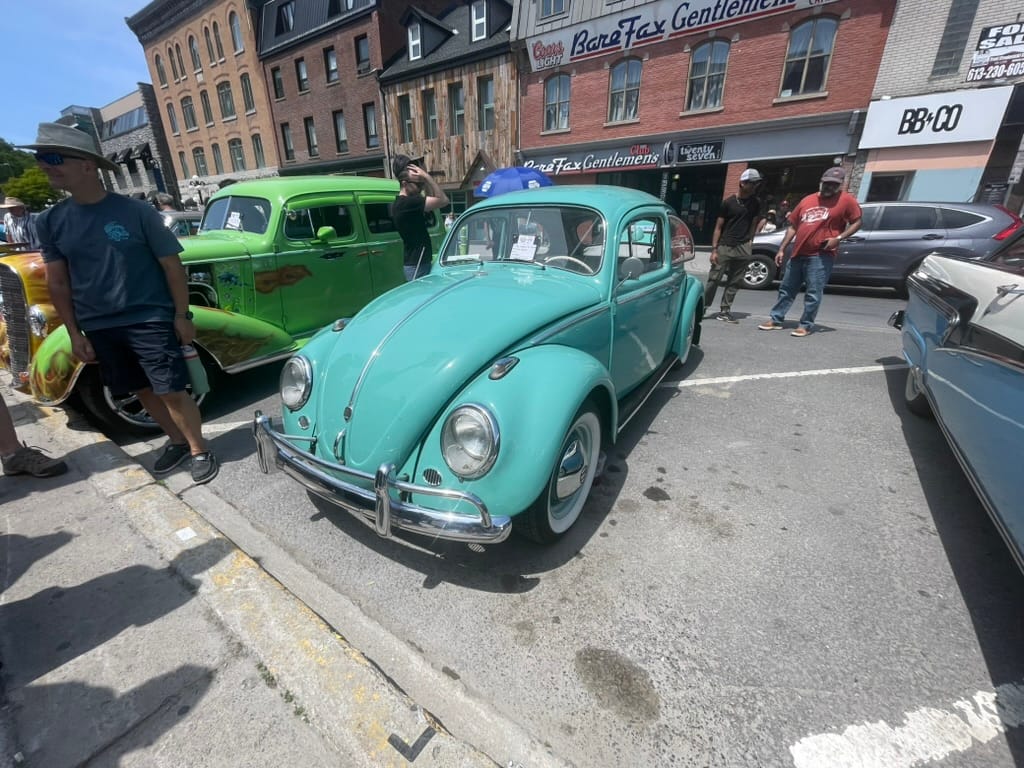
On Sunday, we met my dad and future father in law down town for a charity car show. It was small, but there were some pretty neat cars there. I took some pictures (unlike me, I know) that I wanted to share.


Cat Tax